9112
9112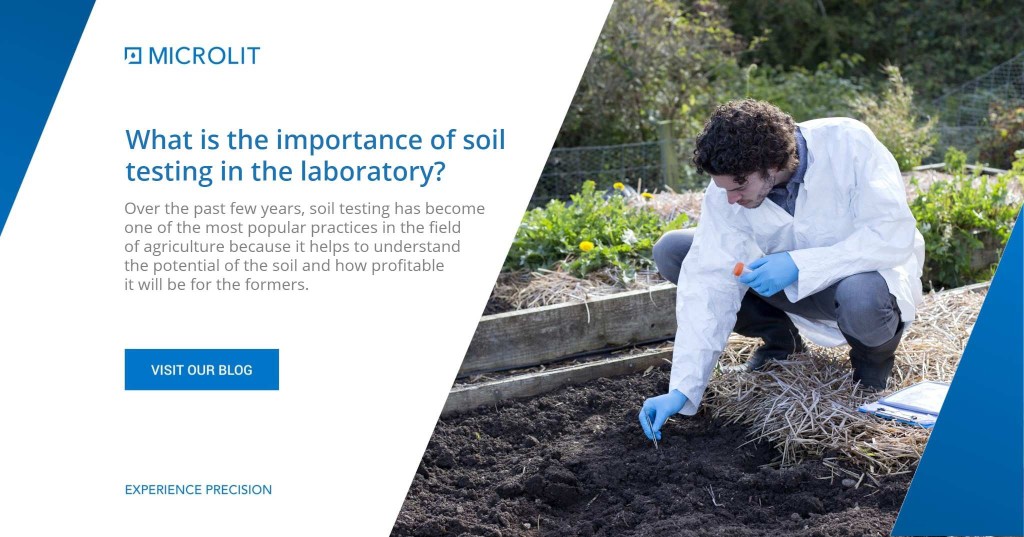
Over the past few years, soil testing has become one of the most popular practices in the field of agriculture because it helps to understand the potential of the soil and how profitable it will be for the farmers. However, soil testing is not just done in the field of agriculture. This procedure is considered equally important before construction.
Reasons behind Soil Testing
If we talk about the construction industry, testing the quality of soil before building your dream home is extremely essential to check the bearing capacity. The soil should be able to withstand the weight of the building.
And if we come to the farming and cultivation industry, testing the soil and analyzing the reports will give you a much better idea about the fertilizers to be used for maximum yield and how to improve the quality of the soil.
It will save you a lot of money because once you understand the quality of the soil, you won’t waste money on useless fertilizers which the soil does not need.
Over fertilization of soil is an actual issue which needs to be avoided. It can lead to water pollution and irreversible damage. Knowing the nutrient requirements of the soil you want to test, will help you avoid excessive use of fertilizers which will be better for both the crops and the environment.
How is soil tested in the laboratory?
The first and the foremost step that is done is preparation of the sample where each sample is assigned a different identification number and usually transferred to a paper bag. The samples are dried, crushed with a grinder and passed through a mesh to avoid any unwanted particles.
When it comes to testing the soil in the laboratory, a variety of different methods are used. Technology keeps evolving, and the top laboratories always try to upgrade their equipment according to that. Here are some of the most common methods that are used to test soil in labs.
➢ Regular texture test
In this case the soil is tested for quantities of sand, clay and silt and then is classified into different categories. C is for coarse texture, M for medium texture and F for fine texture.
➢ Soil pH and lime requirement
The pH of the soil is determined on a 1:1 (soil/water) ratio basis and the mixture contains 10 g volumetric soil and 10 ml double deionized water. Before measuring the pH of the soil, the sample is studied before and after a 15 minutes equilibration duration. The soil with pH values less than 6.0 are further analyzed for lime requirement test.
This process follows the Sikora Buffer Index and that value is determined by adding 10 ml of buffer solution to the above sample in 1:1 ratio. The pH metre is used to calculate the buffer index of the suspension after stirring the mixture for 15 minutes.
➢ Organic matter (loss on ignition)
This method is somewhat related to the first testing procedure in the list for texture of the soil. In this process a 5-gram scoop of soil is kept into a beaker and the sample is dried for at least 2 hours at 105 degrees Celsius. The mixture is then weighed. After that the sample is burnt at 360 Degree Celsius for 2 hours and then weighed again. The loss of weight is calculated as a percentage of the dry soil and that value is considered as the organic matter content.
➢ For Potassium available in soil
When the goal of the testing is to extract the potassium from the soil, 10 ml of ammonium acetate is mixed with 1 gram of air-dried soil. This mixture is shaken for 5 minutes and the potassium available in it is determined by properly scrutinizing the filtered extract on an atomic absorption spectrometer set. The quantity of potassium is reported as parts per million.
These are some of the most common methods carried out in the labs for soil testing. Apart from them, you can also choose multiple other testing techniques like-
- Extractable sulfur.
- Extractable zinc (DTPA extractant).
- Environmental lead.
- Nutrient management Phosphorus using Olsen method.
- Soluble salts using electrical conductivity.
- Particle size analysis using the hydrometer method, and many more.
The availability of the testing technique might depend on the lab you are choosing because every lab might not conduct every type of soil analysis. The choice of laboratory should also be based on the equipment it possesses, the range of reagents and of course availability of specialists who are qualified to conduct the test.