• Multiple Offers
    Multiple Offers
  • Support
    Real-Time Support
  • Free Replacement
    1-Year Free Replacement Warranty
  • (732) 321-0852

How to Perform Purging in a Burette and a Bottle Top Dispenser?

What is Purging?

Purging refers to the removal of air/gas from a closed system, such as lab equipment by using pressure, purging gas or a vacuum. An air purging component eliminates air/bubbles from the equipment, which not only reduces the risk of contamination but also prevents loss of the liquid reagent. For this purpose, manufacturers generally install a recirculation valve that prevents reagent loss during this process, by re-directing the liquid into the bottle.

How to Perform Purging in a Burette?

In order to eliminate the risk of contamination and erroneous calculation during titration, it is advised to purge the burette properly. If the burette is not purged appropriately, there would be a need for another titration procedure, resulting in the wastage of reagents. One can easily ensure the reliability of an experiment by purging the burette in the right way. One can either manually purge the instrument or use an automated purging component.

We have listed a few steps for the Glass Burette, which should be followed if one wants to purge manually:

  • Fill the burette with distilled water (approximately 5 milliliters). It is important to use distilled water as it makes the experiment free of contamination and impurities. One should fill the burette from the top and trickle the water on the side to remove any suspended particles.
  • Ensure that the stopcock is in the closed (horizontal) position before filling the burette.
  • Next step is to tilt the burette in a manner that the water comes in maximum contact with the burette wall without getting spilled out from the top. Then, rotate the burette in a way that the distilled water is able to rinse the burette completely. In case, you see water droplets accumulating on the burette’s sidewall, you ought to clean the burette more carefully with a suitable glassware detergent.
  • After this, pour the excess liquid out from the burette’s top. Switch the position of the burette to vertical and open the stopcock valve by rotating it. You must ensure that you do this step while holding the burette over a sink as it will drain out the liquid from the bottom. Turn the stopcock to the close position and repeat the entire rinse process twice.
  • After this, rinse the burette using the titrant solution. This is done to ensure that the solution concentration is accurate. It is important to rinse the equipment with a titrant as all the distilled water needs to be removed from the burette, as it can lead to dilution of the titrant solution if left inside the burette.

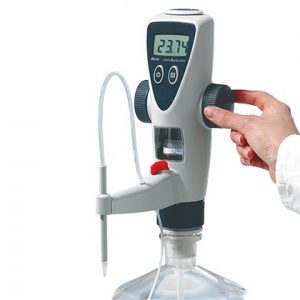
A burette can also have automatic purging features to ensure the removal of air bubbles from the barrel, which is generally the case for digital burettes. Firstly, you need to prime the instrument by gently pulling the piston up and pushing it down till it comes in contact with its base. This process is repeated 4 to 5 times.

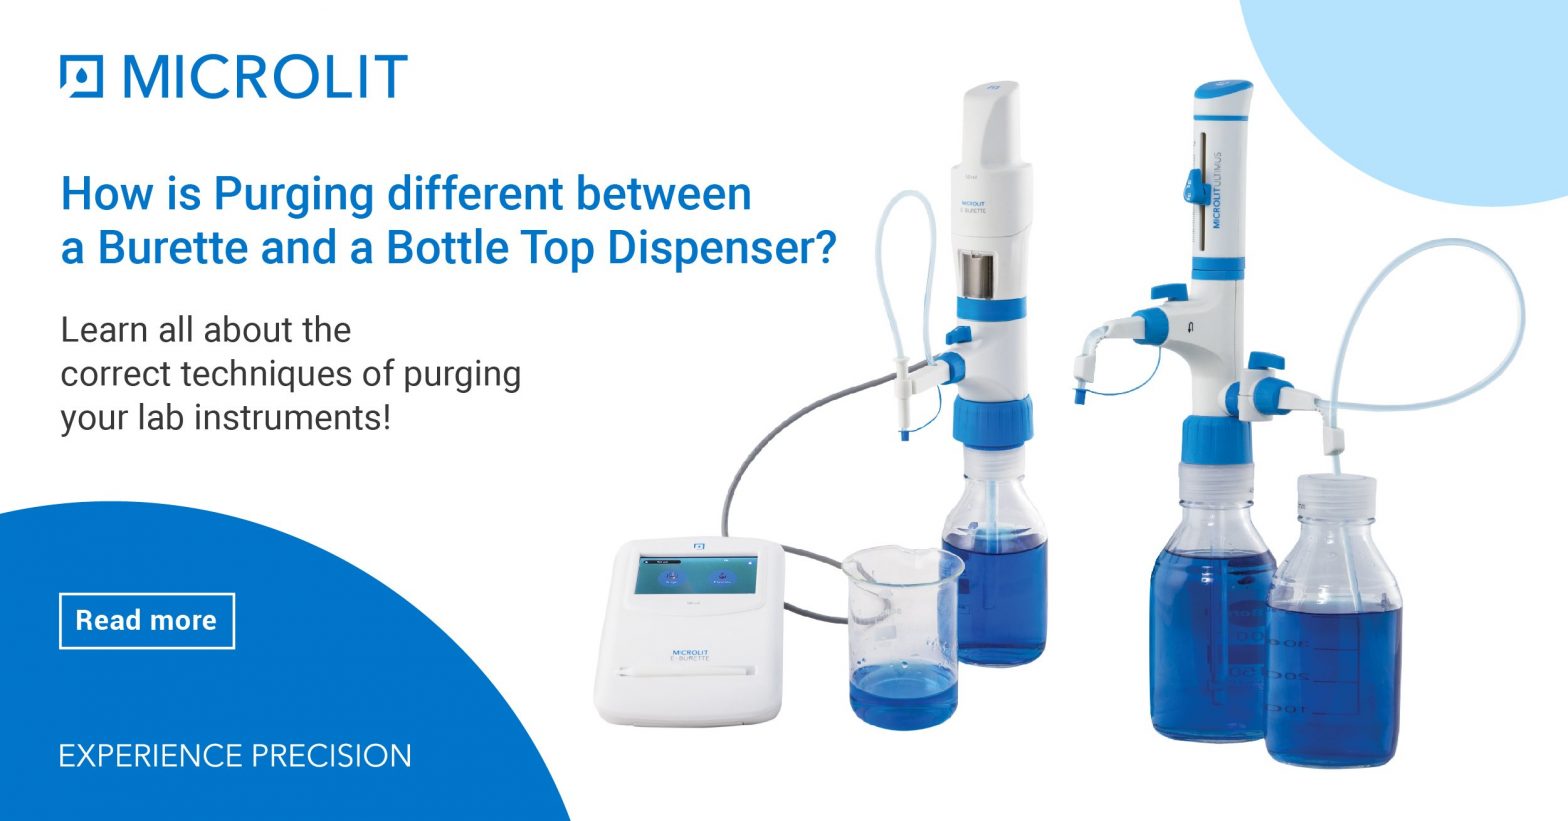
MICROLIT E-BURETTE is designed for dispensing liquids directly from the reservoir bottle without any risk of splashing and contamination. Prior to using a Microlit E-burette, there are some usual steps that need to be followed for a bubble-free dispensing process:

  • There is a purging mode on the control panel home screen. Click the option to activate the purging mode.
  • After selecting the mode, the user is usually asked to turn the knob to enable recirculation mode.
  • After turning the knob to the recirculation mode, the user confirms the action and gives a go-ahead for purging to occur by clicking on the control panel screen.
  • This results in an automatic purging action to take place within the digital burette. In case, you suspect that the equipment has not been purged properly, you can repeat the entire process again until there is no air bubble left inside.

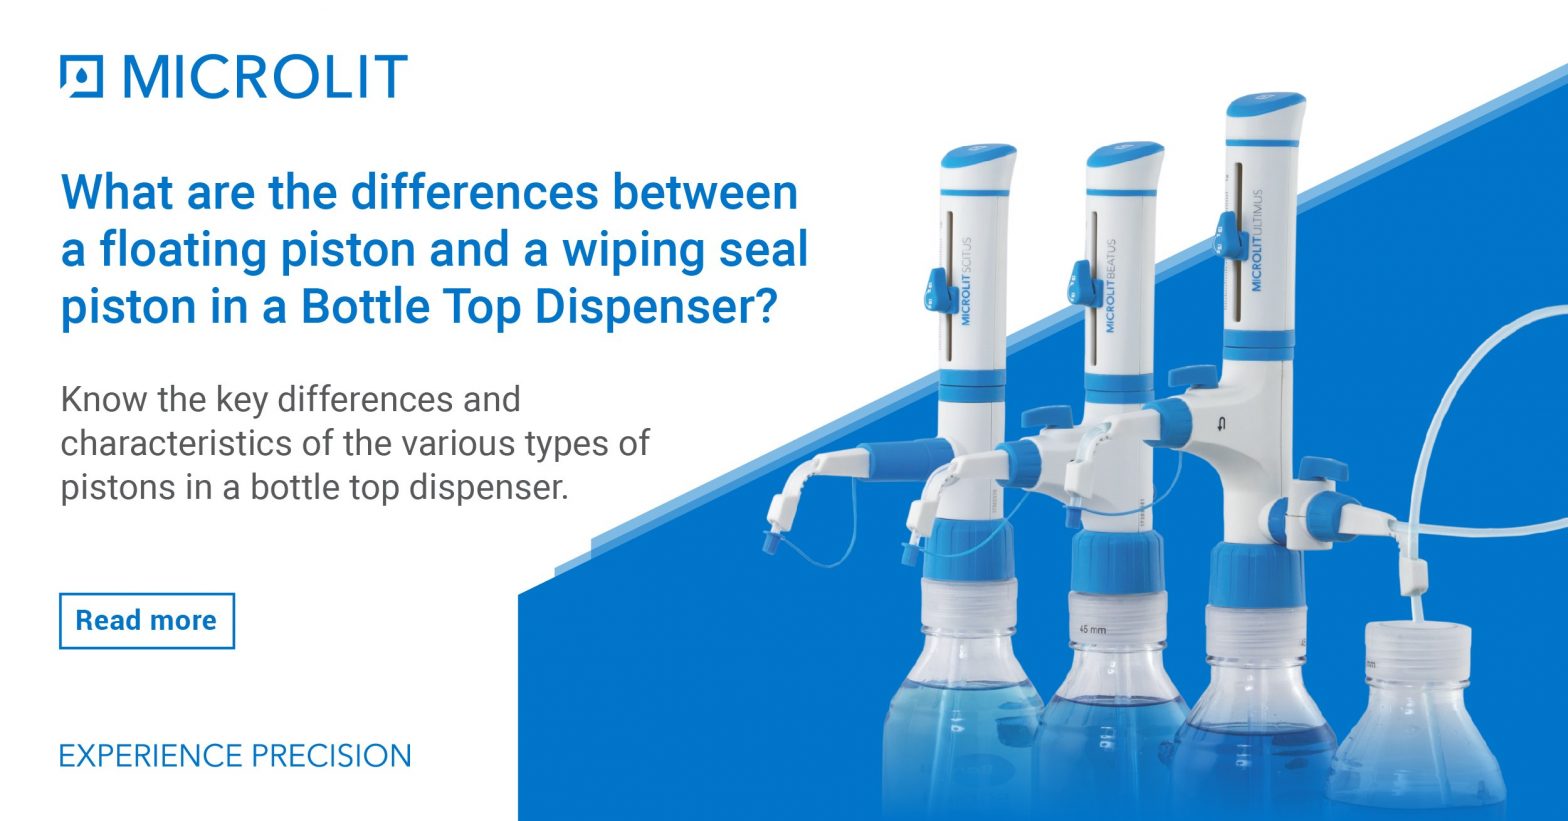
How to Perform Purging in a Bottle Top Dispenser?

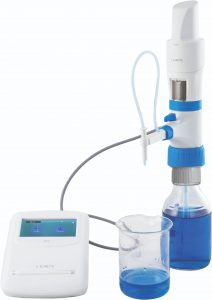
Purging in a bottle top dispenser is performed in a similar way. Although some dispensers are equipped with specialized air-purging and closed-circuit systems, which are built to prevent any loss of reagent while dispensing, as well as while the device is not being operated. In order to air-purge the instrument perfectly, and ensure minimum reagent loss, one needs to turn the discharge tube at 90°. The trapped air inside the equipment is purged/removed through pumping in the closed circuit. This makes the reagent move back into the mounted bottle. After you have pumped the instrument 2 to 3 times, it becomes free of trapped air bubbles. Pumping the air out not only helps to avoid contamination but also prevents wrong measurements.

Microlit Bottle top dispenser (BEATUS) comes with a dual-mode re-circulation valve to prime the instrument without the loss of reagent. To operate the Microlit Bottle Top Dispenser, one needs to follow the below-listed steps:

  • You need to rotate the recirculation knob 90 degrees anti-clockwise for switching it on.
  • The, you ought to aspirate and dispense 1 to 2 times, till there is no air bubble left in the barrel.
  • The, turn the recirculation knob off by moving it in a clockwise manner towards the dispensing nozzle.
  • Finally, you will be able to aspirate and dispense without any air bubble formation.

Reach out to us at info-usa@microlit.com if you wish to know more about Microlit E-Burette, Bottle Top Dispenser or any of our products and make a purchase.

How to do pipetting of Heterogeneous Samples correctly?

What are Heterogeneous Samples?

A mixture is defined as a combination of two or more substances, which may or may not be chemically combined. A mixture can be either heterogeneous or homogeneous depending on the extent to which the substances are combined, as well as the uniformity of composition. A homogeneous mixture has a uniform appearance and composition. They are also generally known as ‘solutions’. In a homogeneous mixture, you can observe only one phase of matter. This means that one doesn’t see solid, liquid and gas separately at a time in a homogeneous mixture. Further, it’s not possible to isolate its components using simple mechanical methods.

On the other hand, heterogeneous mixtures comprise of visibly different phases as the components are not uniformly combined. If you pick out different samples from a heterogeneous mixture, they may not be identical to one another. The components can be of the same state (solid, liquid and gas), but one can identify a part having different properties from another part.

For example, air is a homogeneous mixture of oxygen, nitrogen and other types of gases existing uniformly in the atmosphere. Other examples include soft drinks, alloys like brass and bronze. Examples of heterogenous mixtures include vegetable soup, blood and soil[GS1] [GS2] [GS3] .

How to Pipette Heterogeneous Samples Accurately

A plastic pipette tip is hydrophobic in nature. In order to properly dispense an accurate amount of reagent, the tips are to be pre-wetted. This happens through the process of aspirating (taking in) and expelling a small amount of the reagent 2-3 times before aspirating the required amount of the sample.

When pipetting water, it’s surface tension and viscosity are enough for holding it inside the pipette tip. However, liquids other than water are pipetted using different types of pipettes, tips and pipetting techniques.

The table presented below maps various types of solutions to the type of pipettes, pipette tips and pipetting techniques. One can adjust the type of pipette tip and pipetting technique while using air displacement pipettes or positive displacement pipettes to dispense highly viscous samples or heterogeneous liquids[GS4] .

Solution/
Compound
Examples Pipette Tip Pipette Techniques Comments
Aqueous solution Buffers, diluted salt solutions Air displacement Standard Forward
Viscous solution Protein and nucleic acid solutions, glycerol, Tween 20/40/60/80 Air displacement, Positive displacement Standard or wide orifice, Positive displacement Reverse Pipette slowly to avoid bubble formation.
Volatile compounds Methanol, hexane Air displacement, Positive displacement Filter, Positive displacement Reverse Pipette rapidly to avoid evaporation. Carbon filter tips prevent vapor going into the pipette very effectively
Body fluids Whole blood, serum Air displacement Standard or wide, orifice tip Pipetting of heterogeneous samples Residual liquid can be found on the outer surface of the tip. Wipe the tip against the edge of the vessel to remove this liquid before dispensing.
Nucleotide solutions Genomic DNA, PCR products Air displacement, Positive displacement Filter or wide orifice, Positive displacement Forward For genomic DNA wide orifice tips can be used to eliminate mechanical shearing.
Radioactive compounds Carbonate, H-thy-midine Air displacement, Positive displacement Filter, Positive displacement Forward
Acid/alkalis H2SO4, HCI, NaOH Air displacement Filter Forward
Toxic samples Buffers, diluted salt solutions Air displacement, Positive displacement Filter, Positive displacement Forward or reverse

There are four commonly used pipetting techniques:

  1. Forward Pipetting: This is the most popular pipetting technique, which is used for dispensing aqueous solutions such as dilute buffers, diluted acids and alkalis. However, this method is not suitable for dispensing viscous liquids.
  2. Reverse Pipetting: This technique is used to dispense viscous solutions and high-protein liquids as it prevents formation of bubbles.
  3. Repetitive Pipetting: This method is just a variation of reverse pipetting involving repeated pipetting of the same liquid volume.
  4. Heterogeneous Pipetting: This technique is used to dispense heterogeneous liquids, such as blood or serum as it is not possible to pre-rinse the tip and the complete sample needs to be dispensed for accurate analysis.

Heterogenous Pipetting Process

  1. Firstly, push the operating button to the first stop and dip the pipette tip into the liquid sample. You need to make sure that the tip is well below the liquid surface.
  2. Now, gradually release the button to the ready position, which will result in filling of the tip with the liquid sample. Then, take the tip out from the sample by gliding it gently along the wall of the container.
  3. Next, dip the pipette tip inside the target solution making sure that the tip is sufficiently below the liquid surface.
  4. Again, push the button to the first stop and gradually release to the ready position. Make sure that you do not withdraw the tip from the liquid.
  5. You need to repeat this process until the inside of the pipette tip is clear.
  6. Now, withdraw the pipette tip from the solution by gliding it along the wall of the container. Push the button to the second stop and drain the tip completely. Then, release the button to the ready position.

Why choose Microlit micropipettes for dispensing heterogenous samples?

Microlit micropipettes are highly adjustable air displacement pipettes, which makes them ideal for dispensing heterogeneous samples. In addition, the pipettes feature a Universal Tipcone that allows for a standard detachable / disposable tip as per the user requirement. This implies that one can easily use a wide orifice tip, which is usually suitable for heterogeneous samples.

In addition, the micropipettes are calibrated in an ISO 17025 accredited laboratory according to ISO 8655 standards. This renders Microlit micropipettes to be extremely precise and ergonomic, that ensure a user-friendly and accurate pipetting experience in practical laboratory environments.

To know more about Microlit products and how they can improve your productivity levels, no matter which industry you are a part of, click here.

Difference between Bottle Top Dispensers with Floating Piston and Wiping-seal Piston

What is Dispensing?

The term ‘dispensing’ in Bottle Top Dispensers refers to discharging of defined quantities of a liquid substance. In order to facilitate easier, quicker and more accurate dispensing of chemical reagents, researchers are widely using bottle top dispensers. This instrument has essentially replaced the method of pouring liquids into graduated measuring cylinders. Bottle top dispensers are either installed directly on commercial laboratory bottles or mounted through the use of adapters.

Fundamental Working Principle of Bottle Top Dispensers

A bottle top dispenser works through an upward movement of a piston, which allows the aspiration of a specific amount of liquid present in the reagent bottle into a lab container. Additionally, through the piston’s subsequent downward motion, the reagent is released through a valve and discharge tube. Bottle top dispensers eliminate the need to set a meniscus, which helps in expediting the liquid transfer process.

There are different types of pistons used in a bottle top dispenser. One of them is known as the ‘floating piston’ and the other is called the ‘wiping-seal piston’. Let’s understand the key points of difference between the two kinds of pistons.

Bottle Top Dispenser with Floating Piston

Such system does not need any piston seal which makes it highly durable and easy to maintain due to less friction wear. A floating piston gets fitted into the dispensing cylinder without making contact with the surface. This means that the piston and dispensing cylinder are apart by a gap (a few thousandths of a millimeter wide). This liquid that needs to get transferred creates a thin film within the gap and acts as a lubricant for the piston for a smooth movement.

In some cases, liquid residues can get deposited in the gap between the piston and the cylinder, leading to a higher risk of crystal formation.

Bottle Top Dispenser with Wiping-seal Piston

Such kind of bottle top dispenser features a wiping-seal in addition to the floating piston system. Dispensers having wiping seal pistons usually require higher operating force during the process of liquid transfer. This is responsible for causing defective sealing due to friction wear and tear.

Bottle top dispenser with wiping-seal pistons can be used in experiments involving a variety of daily-routine and less aggressive reagents, such as acids and bases having low concentrations, biological buffers, polar solvents, biological detergents and cell culture media.

In order to eliminate the higher operating forces during liquid filling, some systems use a spring with automatic lifting action that reduces the friction.

Why botte top dispensers with wipe-seal pistons are better

  • It has a typical sealing lip at the lower end of the piston used to wipe the inside surface of the container.
  • A wiping-seal piston enables the complete transfer of the liquid, thereby reducing the risk of crystal formation inside the container.
  • As the piston is protected from swelling or freezing, it makes dispensing of highly viscous liquids possible.

Bottle Top Dispensers by Microlit

Microlit Bottle top dispensers featuring wiping-seal piston technology have a range of designs with a myriad of powerful features and functionalities. Microlit’s bottle top dispensers have cutting-edge EasyKnob™ and FlexiNozzle™ technologies which greatly enhance their flexibility and ease of use. In addition, our designs are equipped with recirculation valve modes, which help in preventing loss of reagent during purging.

The dispensers are compatible with a variety of chemicals and are autoclavable. Designed by our expert team of product engineers, the products are highly intuitive and ergonomic, making them ideal for achieving precision and reliability in practical laboratory environments.

The instruments feature a PTFE Piston with an ETP O-Ring, which helps the dispenser to move smoothly and effortlessly. The piston parts are also extremely compatible with a wide range of chemicals. Our bottle top dispensers are calibrated in an ISO 17025 accredited laboratory and comply with ISO 8655 standards. We also provide a calibration certificate inside the product package, in addition to a calibration tool which can be used for a quick in-lab recalibration.

To know more about MICROLIT BOTTLE TOP DISPENSERS and how they can improve your productivity levels, no matter which industry you are a part of, click here.

How to aspirate the correct volume using a pipette filler?

Using a Pipette filler

Back in the day, the glass pipette used to be filled by sucking through the mouth, a phenomenon known as ‘Mouth pipetting’. However, mouth pipetting has been prohibited since long for the obvious safety reasons. Manual pipettes are usually filled using a manual pipette filler. On the other hand, we also have electronic pipette fillers, which make the job of pipetting much easier and convenient. Let’s look at how to aspirate correct volumes using a manual as well as an electronic pipette filler.

How to aspirate the correct volume using a manual pipette filler?

There are two types of manual pipette fillers available in the market. They are both fitted on top of the pipette, using a light force to avoid any damage.

Filler Types

  1. In order to use the type I filler (also termed as ‘pi pump’), follow the below steps:
  • Attach the filler lightly to the pipette.
  •  Immerse the pipette tip inside the liquid.
  •  Rotate the knob in order for the liquid to get sucked up inside the bottle
  •  Then, fill it to approximately 1-2 centimetres above the mark.
  • Now, press lightly on the lever. This makes the air flow into the top, as well as the liquid level fall. You must do this step carefully, so that the pipette is filled accurately, and the lower level of the meniscus is just touching the mark. If you press the lever for too long, you might need to the start the process all over again.
  • When the pipette gets filled correctly, you should transfer it to the container, such as a conical flask.
  •  Finally, empty the pipette by pressing the lever completely. When, no liquid is left inside the pipette, withdraw it.

   2. The type II filler is little more complicated that type I. You need to follow the below steps to operate the type II filler accurately:

  • Firstly, fit the filler on top of the pipette, but don’t attach it too rigidly.
  •  Now, press button 1, which makes the air get expelled from the bulb.
  • Now, release button 1, and press the button 2 instead. This connects the bulb to the pipette.
  • The pipette is filled a few centimetres above the mark.
  • Release the button 2, and press the button 3, which makes the air flow into the top, as well as the liquid level fall.
  • Keep pressing the button 3 gently until top of the meniscus is just touching the mark on the pipette. Now, transfer the pipette to the container, like a conical flask.

Keep the following points in mind while using a manual pipette filler:

  1. Do not exert to much force on the instrument, as it can lead to a broken stem, which can be extremely hazardous for the user.
  2. Do not overfill the pipette. The easiest way to avoid overfilling a pipette is to keep the tip in contact with the liquid. You must ensure that the tip is completely immersed in the liquid.

How to aspirate the correct volume using an electronic pipette filler?

  •  Begin by inserting the pipette inside the collet and make sure it is held firmly.
  • Now, press the upward plunger (there is usually an ‘up’ mark) in order to aspirate the liquid in the pipette.
  • Press the downward plunger to dispense the liquid.
  • You can control the pump speed by adjusting different panels on the instrument.

Why use an Electronic Pipette Filler?

1) Accuracy: The major advantage of using an electronic pipette controller is the level of accuracy and precision offered by them, which leads to reliable results. As an electronic pipette controller is basically error-free, one can be sure of precision and accuracy.

2) Better volume range: Electronic pipette fillers have marked differences for various volume ranges. For instance, if you need to dispense 50 μl, you can choose fillers with volume ranges: 5 to 50 μl or 25 to 50 μl depending on the manufacturer.

MICROLIT EASYFILL, an electronic pipette filling equipment is a powerful and precise liquid handling device that offers the user remarkable ease-of-use and accuracy. It comes with the single knob dual dispensing functionality, along with a myriad of other sophisticated features.

The product has been designed by MICROLIT’s in-house team of expert product design engineers. It is an extremely intuitive and ergonomic device that makes the process of filling pipettes highly convenient for the users.

In addition, MICROLIT EASYFILL will help relieve any unnecessary hand fatigue caused by repetitive pipetting and performing sensitive operations with high precision, accuracy and reliability in practical laboratory environments.

It can be operated up to 8 Hours non-stop as MICROLIT EASYFILL operates on Ni-MH 3.6 V rechargeable batteries in addition to the low power consumption circuit and vacuum pressure / pump, which enables 8 hours of uninterrupted operation.

The instrument comes with a Universal Silicon Collet Adapter that holds pipettes firmly in place. The instrument’s Universal Silicon Adapter has internal knurling, which can be used to hold pipettes (having volumes from 1 ml to 100 ml) firmly during liquid handling operations. The e-pipette filler also offers the user adjustable pump speed during liquid handling.

To know more about MICROLIT EASYFILL and how they can improve your productivity levels, no matter which industry you are a part of, click here.

What are the different types of Burettes? Which Burette should you buy for your lab?

What are the Different Types of Burettes?

Burettes are long, calibrated glass tubes that are used to dispense and quantify a wide variety of chemical solutions. The instrument has a stopcock on its lower end with a stopcock valve attached to it. The valve is used to control the amount of liquid flowing through the burette. Burettes are mostly used to perform experiments involving titrations.

Titration is used to measure the concentration of a particular chemical compound by gradually adding a neutralizing substance. The substance is added drop-by-drop via a magnetic stirrer till it completely reacts with the compound. Usually, the end-point of such a reaction is a change in either acidity or pH of the mixture, indicated by a chemical indicator that causes a color change.

Various types of burettes are currently available in the market on the basis of level of automation, type of material and intended use. Broadly, they can be classified into the following types:

  • Manual / Volumetric Burettes: Volumetric burettes are graduated for volume measurement and have stopcocks with dispenser tubes. A manual burette can either be made of glass or plastic, having a fixed clamp in an iron stand. There is generally a push-button that allows for dropwise dispensing of the liquid.glass burette
  • Digital Burettes: Such types of burettes can be operated manually (by hand spinning) or through the use of batteries. A digital burette is generally a syringe-based design with the plunger and barrel made of glass/plastic. The barrel is held in a fixed position and the plunger moves by rotating the knob manually or using a step motor. A digital display on the top of the burette shows the volume of the liquid. Some digital burettes also have highly advanced features, such as LCD screens, recirculation systems and digital interfaces for recording data.digital Burettes
  • Electronic or E-Burettes: An E-burette features an electronic control panel, an electronic display, as well as a motorized piston. It is basically an upgrade of the digital burette as it eliminates various issues associated with it, specifically involving manual dispensing. As it is a motor-operated device, it is highly accurate in dispensing liquids, as it eliminates human intervention.Microlit E Burette

Which burette should you buy for your lab?

A volumetric burette might be an economical and effective choice for some academic institutions, including middle or high school labs. However, for fast-paced lab environments, one must opt for an E-burette given the accuracy and efficiency offered by the instrument.

MICROLIT E-BURETTE is a state-of-the-art motorized burette that is power packed with advanced features and functionalities. It is a highly precise and reliable instrument compatible with a wide range of chemicals. The design of the burette is extremely ergonomic and intuitive. The product conforms to ISO 8655 regulations and is GLP compliant, therefore you can be assured of its high-quality standards. It finds application across several industries, including pharmaceuticals, Food & Beverages, and Environmental Monitoring.

Created by Microlit’s in-house team of product design engineers, it can be easily calibrated inside the lab without the need for an external calibration tool. Our team also makes sure that each model is individually calibrated. Some of its various features include:

  • Motor Controlled Piston Movement
  • A touch screen enabled Control Panel with Graphical User Interface (GUI)
  • 3 Calibrated Pre-Set Speeds for highly accurate titrations

MICROLIT E-Burette will let you:

  • Choose from Three Different Variants: The E-Burette is available in three different variants: 10 ml, 25 ml and 50 ml.
  • Work with 3 Calibrated Pre-set Speeds: The device is highly flexible and can be operated at 3 calibrated Pre-set Speeds, such as dropwise dispensing for accurate results.
  • Re-direct Reagents via Recirculation Mode: The instrument is equipped with a Recirculation Mode feature, which helps prevent the loss of reagents while purging and facilitating bubble-free dispensing.
  • Operate Seamlessly with Motor Control: Motor operated piston enables easy and accurate titration experiments. In addition to being convenient, it eliminates human error associated with manually operated burettes.
  • Save Results: The E-Burette has the option to get connected to a computer, and thus, has the capability to store approximately 20 results for future reference.
  • Dispense Easily with FlexiNozzle Technology: Microlit’s cutting-edge FlexiNozzle technology offers an adjustable delivery nozzle, which makes the equipment greatly flexible, as well as enables comfortable dispensing in hectic laboratory environments.
  • Perform Fast Titrations through Touchscreen: The device features a user-friendly TFT Touchscreen that acts as a guide for fast and precise titrations. The screen can display numeric data up to the second decimal, enhancing the overall accuracy of the experimental data.
  • Perform Advance Functions: A highly powerful and robust Control Panel is the head and heart of the burette as it controls and directs all the major functions of the instrument. These functions include performing a zero reset, automatically re-fill without changing the reading, and switching the instrument on / off and others.

To know more about Microlit E-Burette and how it can improve your productivity levels, no matter which industry you are a part of, click here.